Monday, November 10, 2014

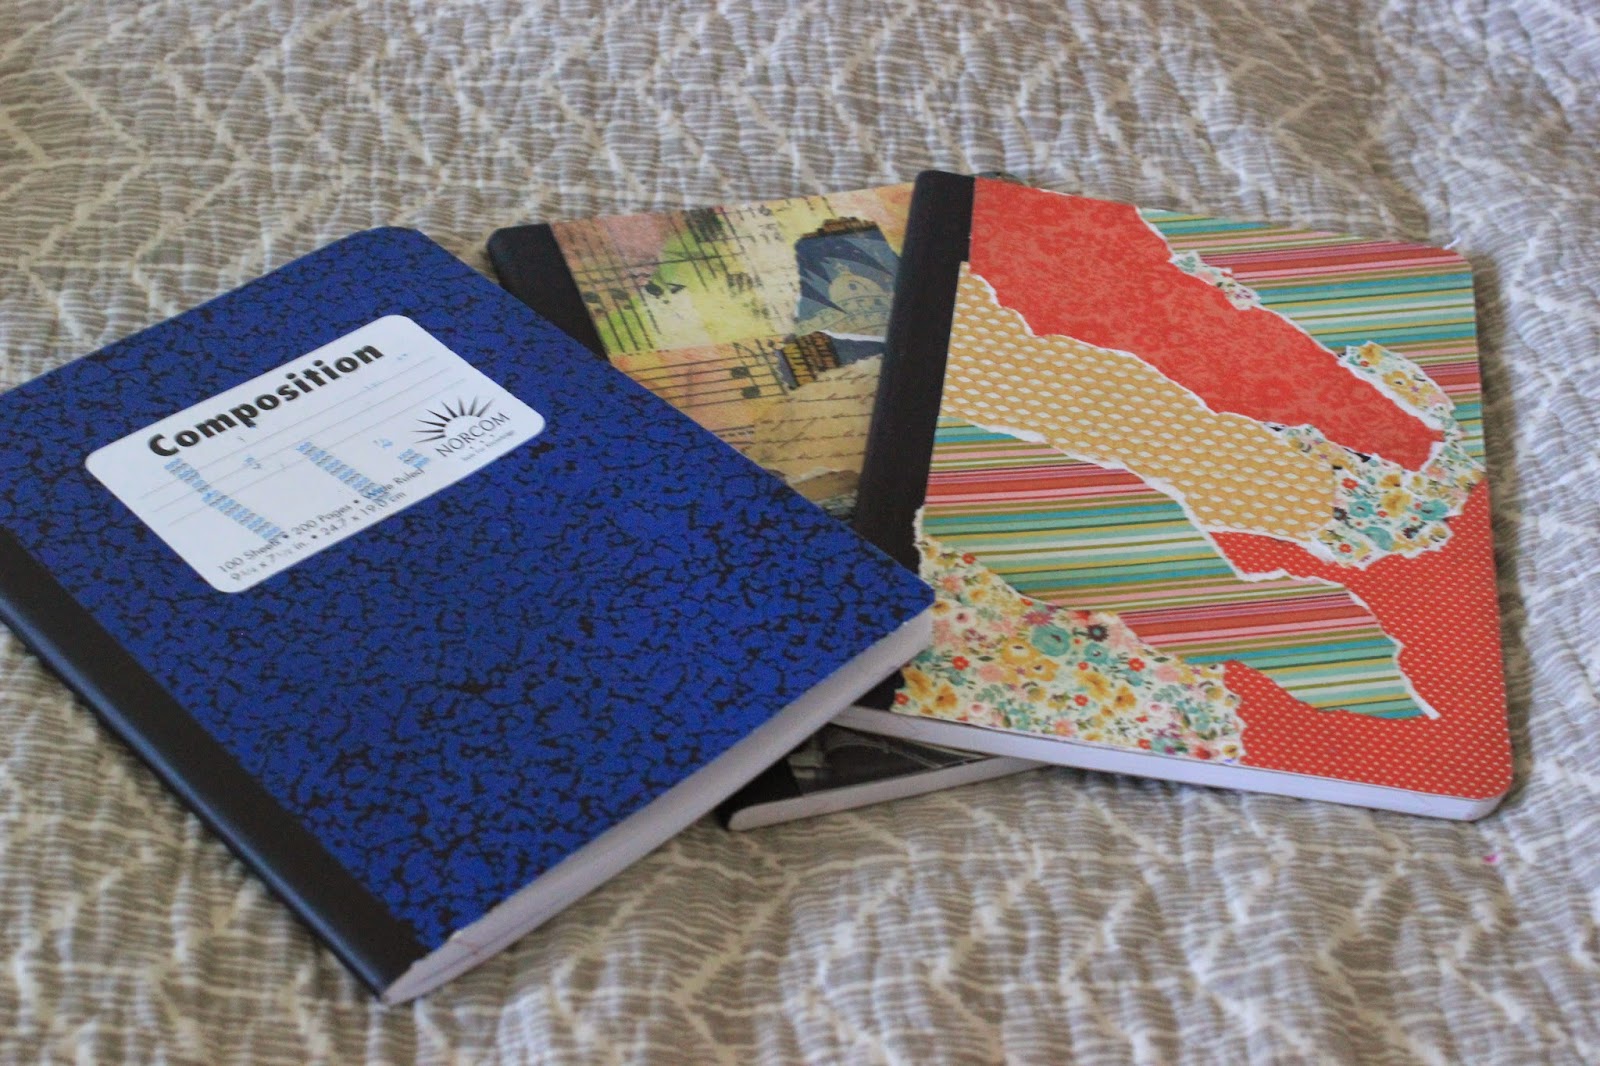
Collage Notebooks

 Hey guys! Here in this tutorial I will show you how to make a collaged notebook! It is very simple, cute and easy, so Enjoy!
                                                                    Materials:
                                                                    Notebook
                                                                   Paintbrushes    
                                                                       Paper

 ModPodge or liquid glue                                                                              

Step 1

Spill some ModPodge or liquid glue on to the notebook and spread it all over the notebook with a thick brush. You might want to protect your surface with some paper. 


                                                                            Step 2
Next, lay down the paper on the notebook piece by piece, and after putting on down you need to cover                            
                                                                   the piece in glue.
Step 3
After you pasted every piece down to cover the whole notebook, you need to cover the notebook in a couple coats of glue to seal everything. 
Step 4 
After the notebook is completely dry, you need to trim the edge. You can do this with scissors or an exacto knife. I flipped the notebook on its back and I used an exacto knife to trim it. 
                                                                          Ta Daa!
You are finished! You can make this completely personalized, or you can do this based on a theme! You can make this in any color scheme or design, squares, circles, scraps, its all up to you. Hope you enjoyed this tutorial, and I'll talk to you later.
                                                                    Before & After

 ~ Joy


Friday, September 5, 2014

DIY School Supplies


Hello there!

Today I decided to take you through a tutorial on how to spice up your old folders and plain pencils! You could use these techniques for notebooks and binders! The folder that I'm going to share with you is the blue and green chevron patterned one. Next, I'm going to
show you how tho make the green and white pencil.

Hope You Enjoy!


Materials:
Old Folders
Mod Podge or Clear School Glue
Colorful Paper
Spray Paint
Painters Tape 

Step1:

Glue a colorful paper of your choice on your old, yucky and umm... in my case drawn on by a young artist, folder :) I also recommend laying a newspaper or something like that on your working surface to protect it. Then I put something heavy on it.


Step 2:


Now, after it dries you can tape any design you want with your tape. It is best to use painters tape because it won't rip your paper.

Step 3:


After that, you want to spray paint the folder.

Step 4:


If you would like, you can add paper to cover the pockets.

And Finally...
Here's how it turned out! I just put a label on the folder that I made it's done! How easy was that? Now, you can make a bunch of your own unique school supplies using this technique! 

Now the Pencils


Materias:
Any Tape 
Pencils
Paint Or Spray Paint


Step 1:
 You will need to tepe oh gosh I can't type today :) tape the eraser off so hat you wont get any paint on it.
And, if you want a design on your pencil, then tape strips on your pencil.
Step 2:
Then, you need to paint your pencils. You can paint a couple of colors, like here, but be careful to not to paint on the other side of your tape. 
Step 3:
Now, this step is optional, but here you can spray paint your pencil.
Step 4:
Next, after the paint dries, you can peel off the tape and Ta Da! There is a cool design on the pencil! I hope you liked this tutorial and I hope you make one of these diy's!

~ Joy


Thursday, August 7, 2014

Welcome!

Welcome to my blog, little accents!


 Its so good to have you here! This blog will be about creativity and tips for easier crafting. I will share my ideas and tutorials for you guys, and I hope they will inspire you to create something. feel free to ask questions, and comment!