Hey guys! Here in this tutorial I will show you how to make a collaged notebook! It is very simple, cute and easy, so Enjoy!
Materials:
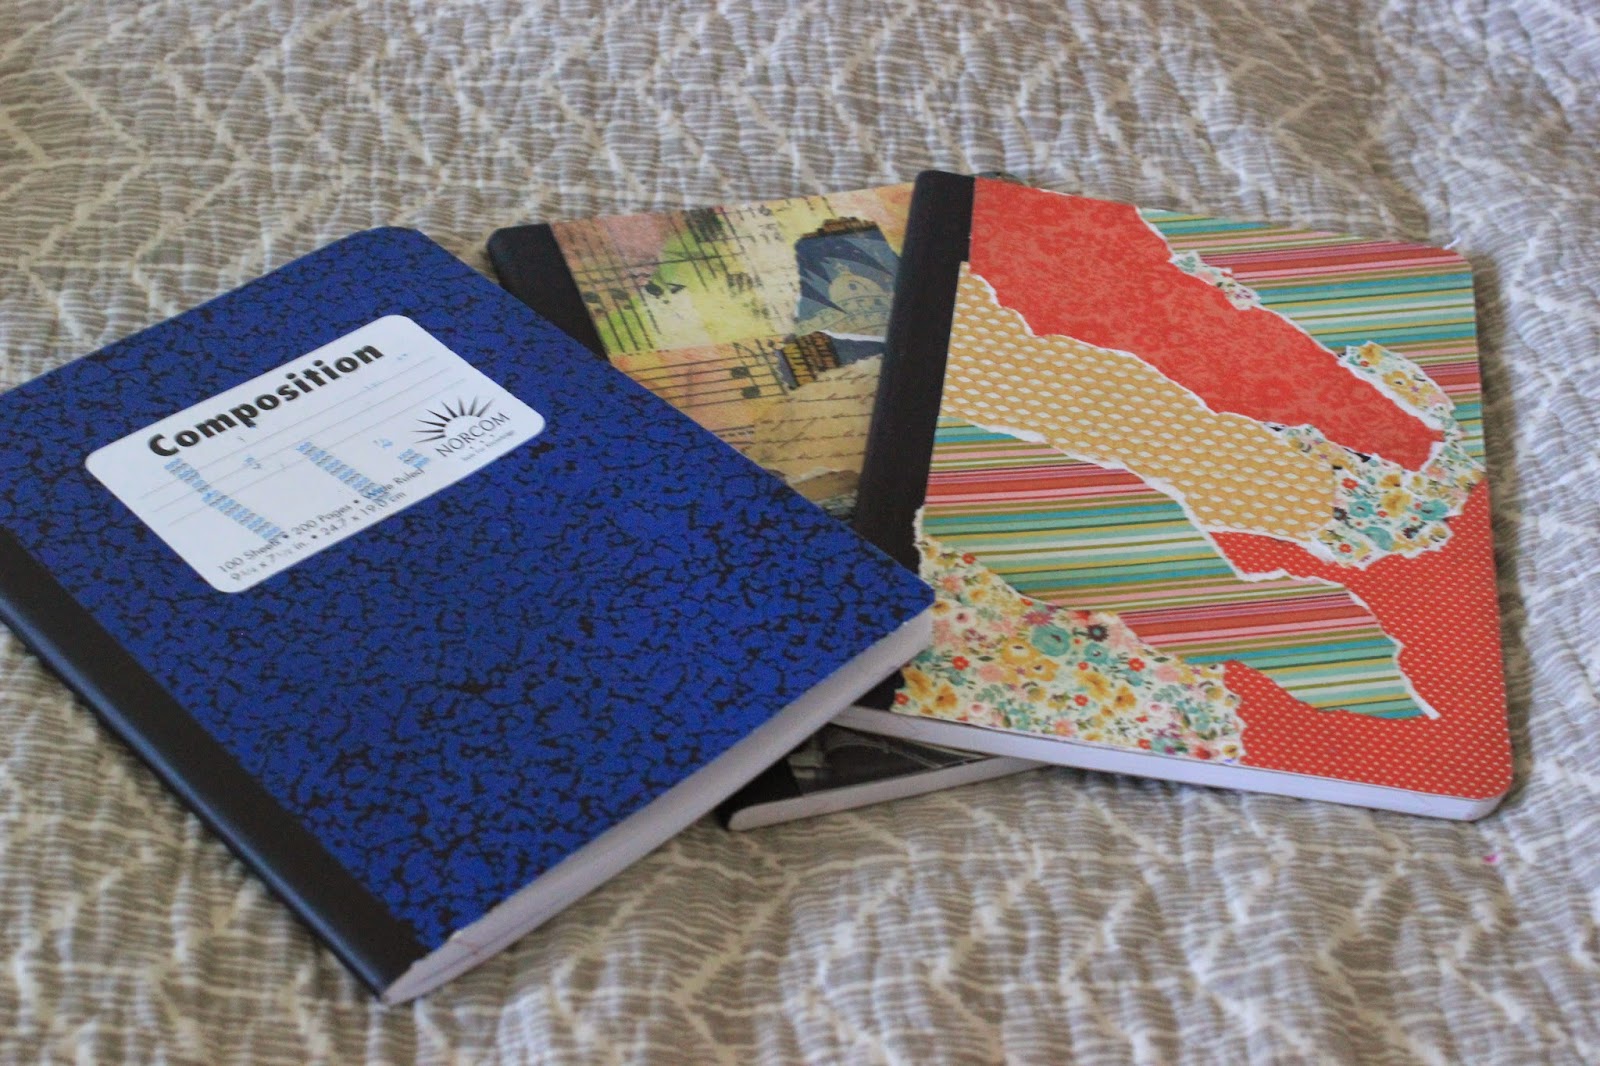
Notebook
Paintbrushes
Paper
ModPodge or liquid glue

Step 1
Spill some ModPodge or liquid glue on to the notebook and spread it all over the notebook with a thick brush. You might want to protect your surface with some paper.

Next, lay down the paper on the notebook piece by piece, and after putting on down you need to cover
the piece in glue.

Step 3
After you pasted every piece down to cover the whole notebook, you need to cover the notebook in a couple coats of glue to seal everything.

Step 4
After the notebook is completely dry, you need to trim the edge. You can do this with scissors or an exacto knife. I flipped the notebook on its back and I used an exacto knife to trim it.

You are finished! You can make this completely personalized, or you can do this based on a theme! You can make this in any color scheme or design, squares, circles, scraps, its all up to you. Hope you enjoyed this tutorial, and I'll talk to you later.