Saturday, June 20, 2015

Fathers Day Card

  Hey Guys! I wanted to show you really quick what kind of card I made for Fathers day.
 This was really easy to make: I basically used a card base and added scrapbook paper on top, Then I distressed it with Tim Holts Walnut Stain and made the edges rough using a paper distressed, you can also use scissors. Then I punched out two little leaves and also distressed with the same ink and glued them in the corners using double sided tape. Then I wrote Happy Fathers Day on card stock, traced it with a sharpie and cut it out. Then I distressed it with ink and Ta-Da! Its done! 

Try to make something hand-made for your dad and show him how much you care through that!

Thursday, June 4, 2015

Magnets

Welcome back! 
Today I decided to show you how to make these really cute multipurpose magnets!

Materials:

Spare-Parts clear round epoxy stickers
scrapbook paper
magnet strip
glue dots
scissors
mini splashes of paint or color

Step #1
I painted on some splashes of color onto regular paper and then I laid down the stickers. You can do the same thing with printed paper

Step #2
Then I measured and cut a strip of magnet to go across the back of the sticker and placed a glue dot on the magnet strip.

Step #3
After that, you just glue the magnet to the sticker!

That is all, I hope you try this out and until next time!

    ~JOY


Wednesday, June 3, 2015

Flower Letters And Block

Welcome back! Today I decided that I would show you how to make these really cute letters and block out of just a few simple supplies!

Supplies:
Cardboard
Pencil
Paper
 Fake Flowers
Foam Block
Cutting tool- X-acto knife, or just a dull knife
Ruler 
Hot Glue Gun


Step #1 foam block
Take the foam block and cut it in half. If you have a smaller square, then you can skip this step.
Step #2
Now, just cut off the stems of the flowers to leave a "stub" of wire, so that next you can stick the flowers in one of the halves. You can glue them to the foam, but I decided not to. 
Step #3
After that, if you do not want all the little pieces of foam on your table, I cut out a square slightly smaller than the foam and took four small thumbtacks and attached the paper to the foam.            And you are done!

Flower Letter
The first thing I did is I traced a letter onto cardboard and I cut it out.


Step #2 
Then I cut out a piece of exactly the same shape white paper.
You can also paint it. 
Step #3
Next I just started gluing flowers to the base, and after that, You are finished!

          ~JOY


Wednesday, March 25, 2015

Spring Banner

Hello there! I'm back with another easy DIY, this time for spring. This is a really fun and creative DIY because its paintable so your kids can join in too!
 This is a banner made form and with:
Card stock
Twine/String
Paint
Mini Clothespins 
Paint Brushes

The first thing that you have to do is cut your paper.
I had 2 8.5"x11" pieces of card stock and I cut them into 4 pieces.


Next, you will have to draw your letters.
You can choose other words like Easter, Summer etc.


After that, all you have to do is paint outside the letter. 
I chose to do different designs, but you can stick to one design.

Then, go over the letter itself in one color, mine is white.
I gave it 2 coats, and then outlined it with a black marker.

After the paint was all dry, I took some twine and I attached the paper to the twine with mini clothespins I got from Target.

Now all you have to do is hang it up and enjoy your artwork!


~JOY

Thursday, February 26, 2015

Paper Butterflies in a Frame

Hello! Today I decided to show you guys how to make some cute pop-up butterflies in a frame to put up on your wall! It adds some fun and cuteness to any room!
                                              Materials:
A frame
Scissors
Tape
Pencil
X-acto Knife
Scrapbook Paper
Paper Butterflies

Step #1
Tape the paper to your frame, but if you have a wood frame, then just put the paper in as if you were putting in a photo

Step #2
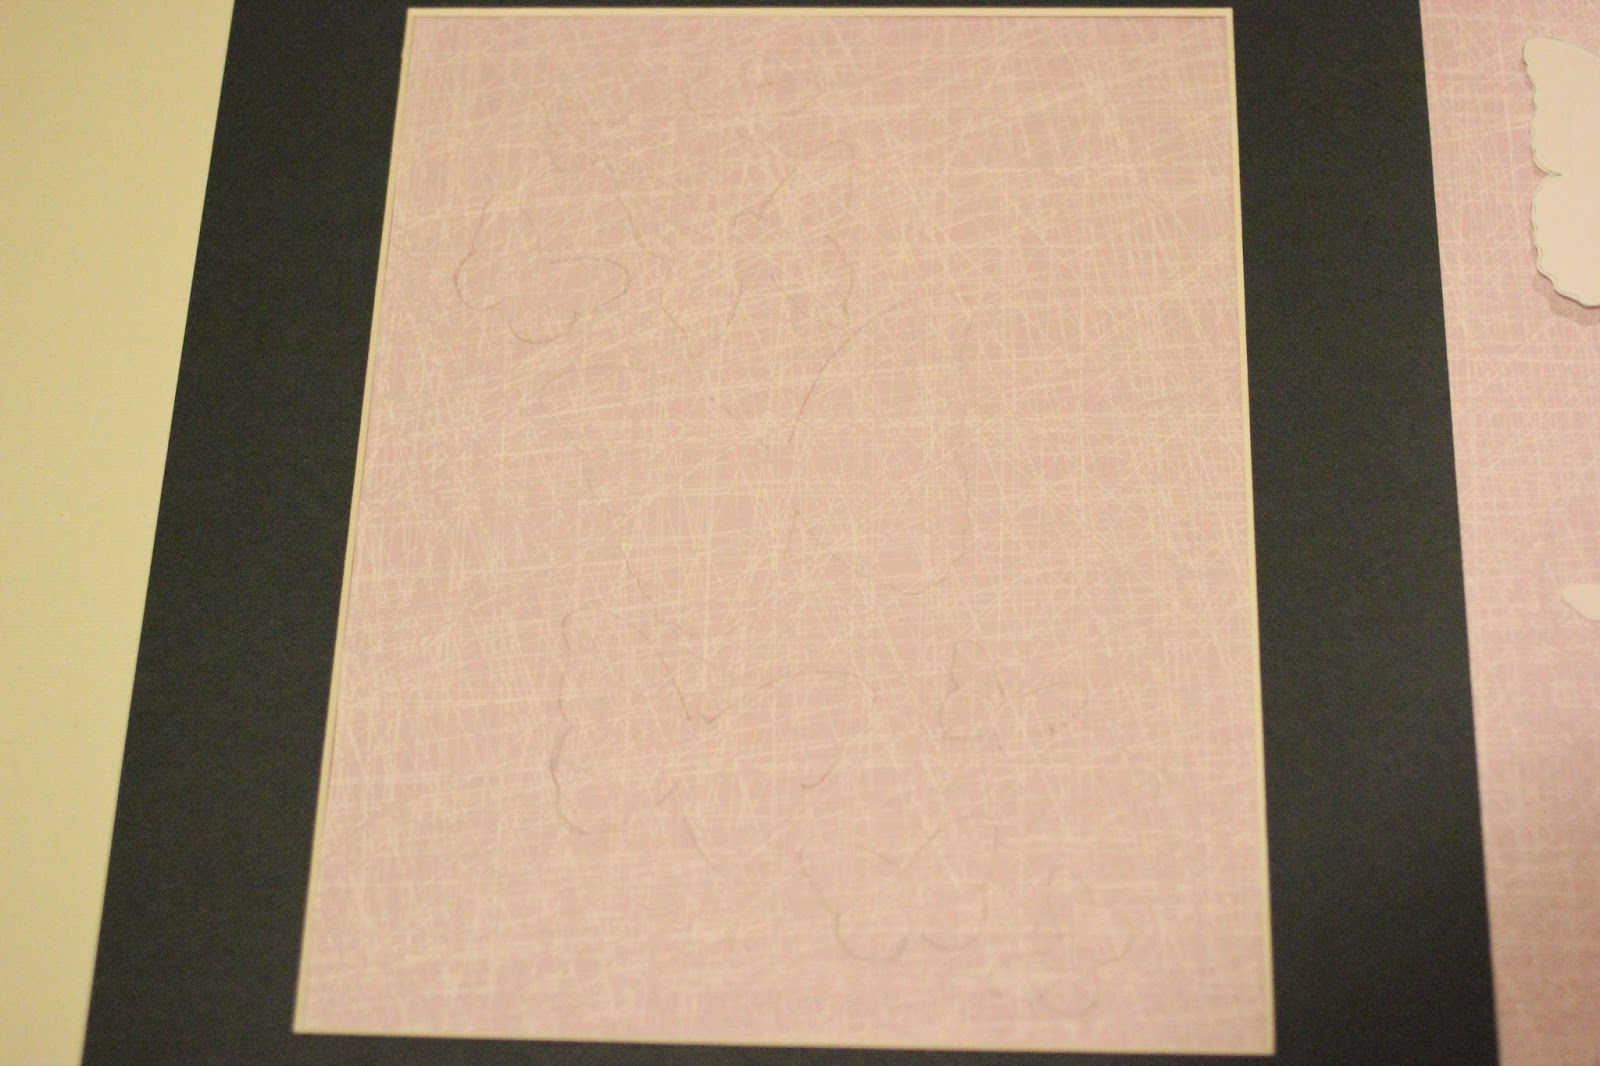
Then, put the paper butterflies in a design that you like and trace them. Make sure there is cardboard underneath ( the butterflies could be patters that you get of the internet, or you could cut them out yourself )
 Step #3
This is my pattern. My butterflies are just kind of flying up.
 All you need to do now is just cut the pattern out, except in the middle where the body is
Step #4
Then you want to tape a piece of paper (any color you like)
and tape  it on top of the scrapbook paper.
Step #5
All you need to do now is fold the butterflies in by the lines of the body, and you are done! Hang it up and enjoy the masterpiece!

~JOY